Roller Derby Photography – what and where to shoot
Previously I’ve posted Roller Derby photography articles about colour, equipment and camera settings, as those are subjects close to my heart and easy for a huge camera geek like me to write about, but I really should address the mechanics of and etiquette of shooting roller derby, so here it is.
Game Basics
A (very) basic introduction to the sport.
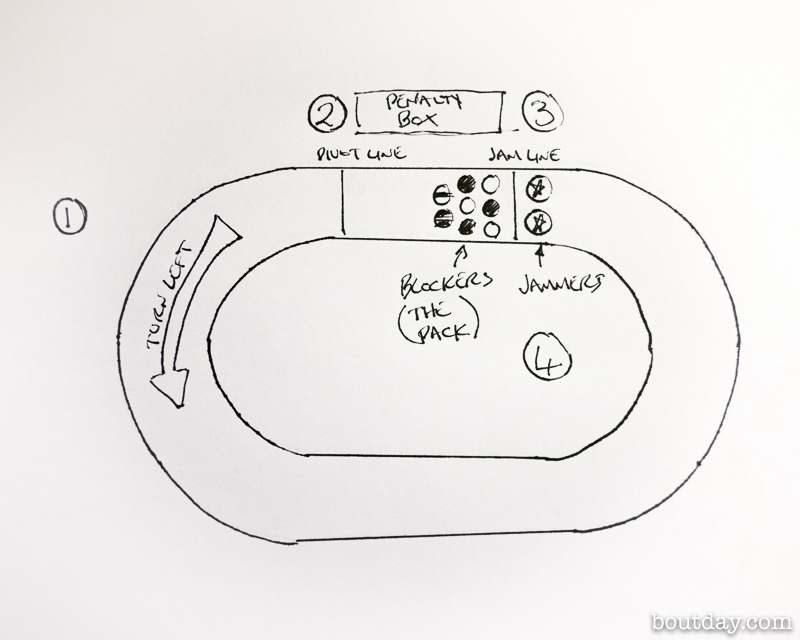
Derby is played on an oval track, see rubbish drawing to the left (I’m a photographer, sorry), usually laid out on a standard sized sports hall. Each team consists of up to 14 players, with 5 on track at any one time – a jammer (the points scorer) and 4 blockers. A game consists of two 30 minute periods, split into plays called jams that last up to 2 minutes.
At the start of a jam the jammers (star on their helmet) line up on the jam line, and the blockers (the pack) take up a position anywhere between the jam line and the pivot line. The Pivot (stripe on their helmet) has special rules relating to the pivot line, but that’s rarely a factor in the modern game.
When the whistle is blown, everyone moves. The first jammer to legally clear the pack becomes the lead jammer and can stop the jam at any time by touching their hips.
On lapping the pack, a jammer will score 1 point for every opposing player they pass. Opposing players can stop this by physically blocking the jammer.
What You’re Looking For
These are the main shots to look out for.
The Pack
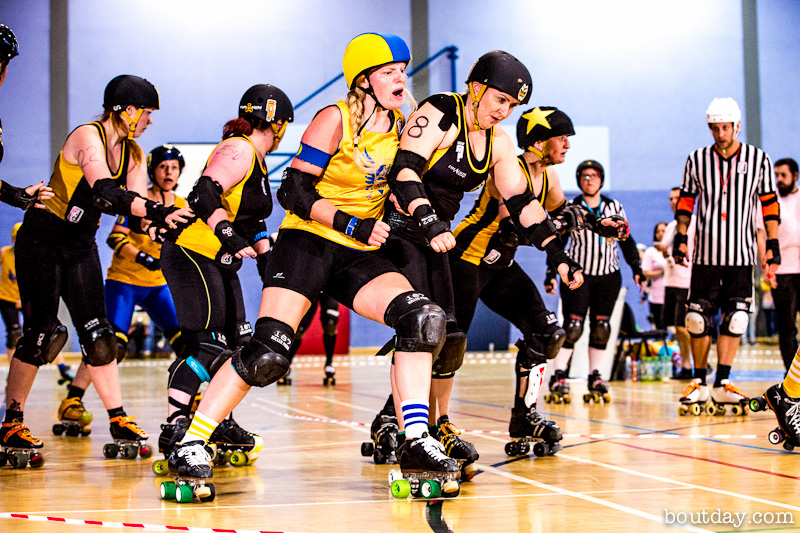
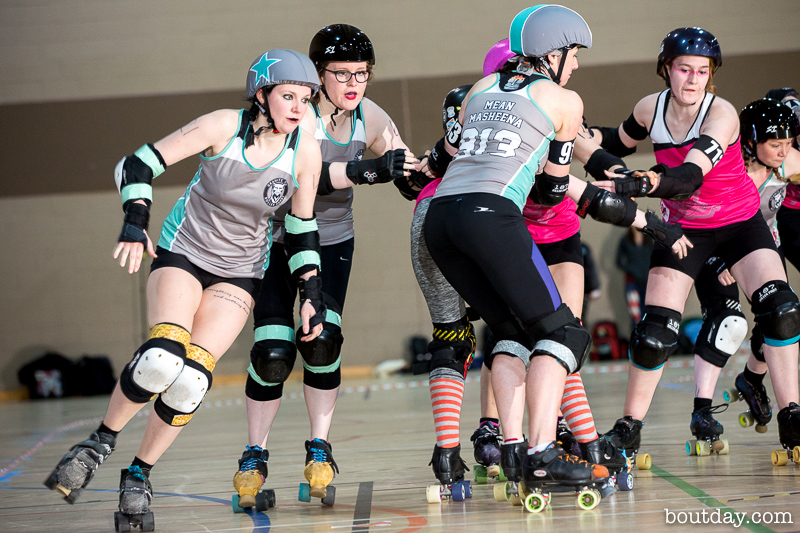
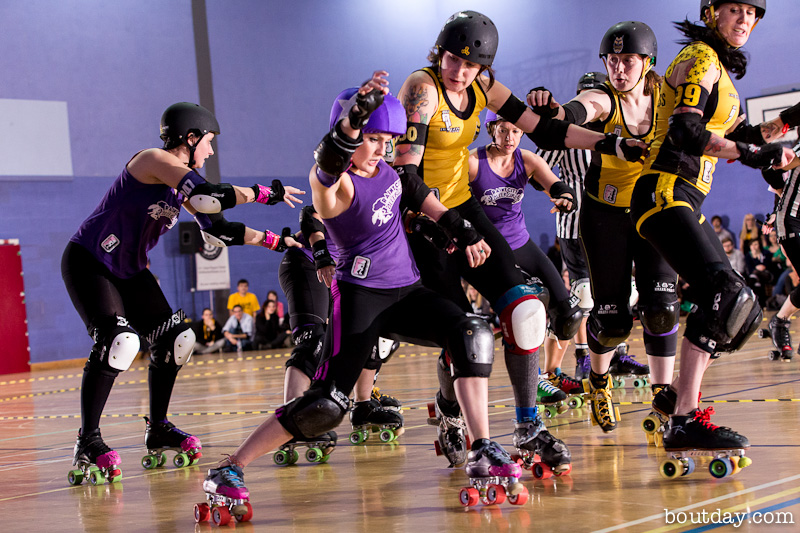
Shots of the pack where something is happening – usually one player blocking another, but sometimes just a good formation – a 4-wall, a braced wall or similar.
Crossovers
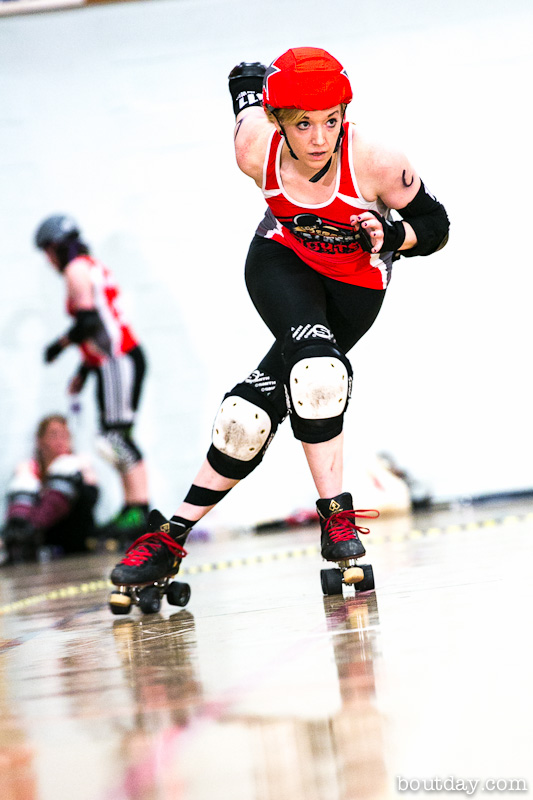
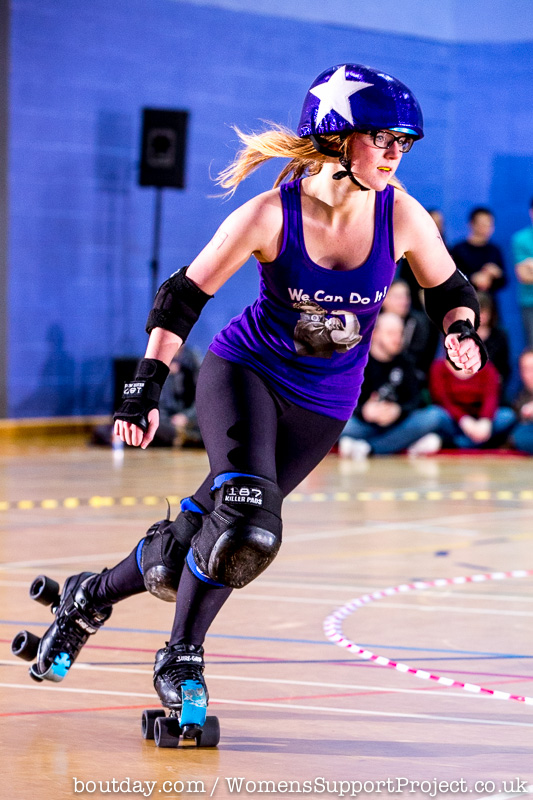
The jammer rounding the apex at full crossover.
The Jammer
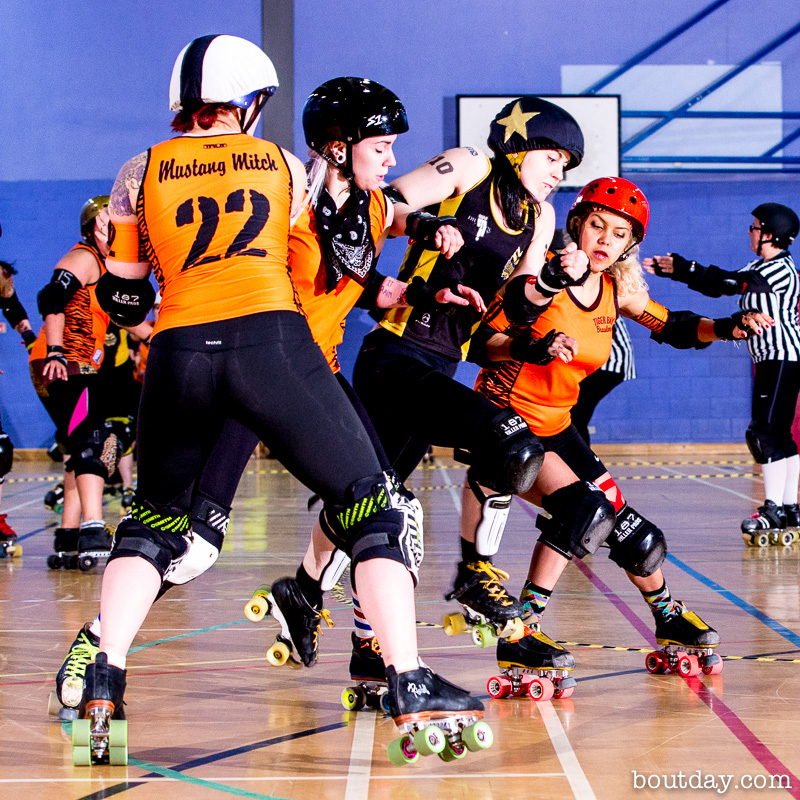
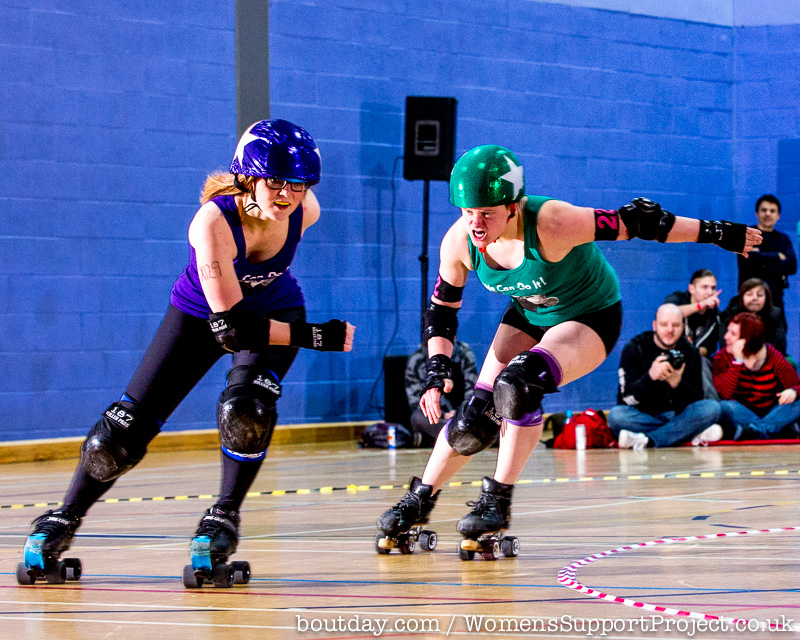
The jammer interacting with the pack – either being blocked or breaking through.
Offence
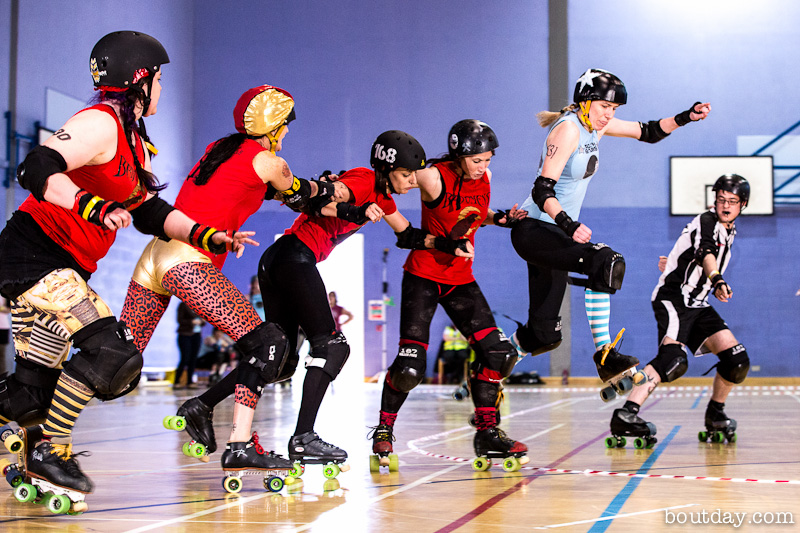
Blockers making a path through the pack for their jammer.
Big Hits
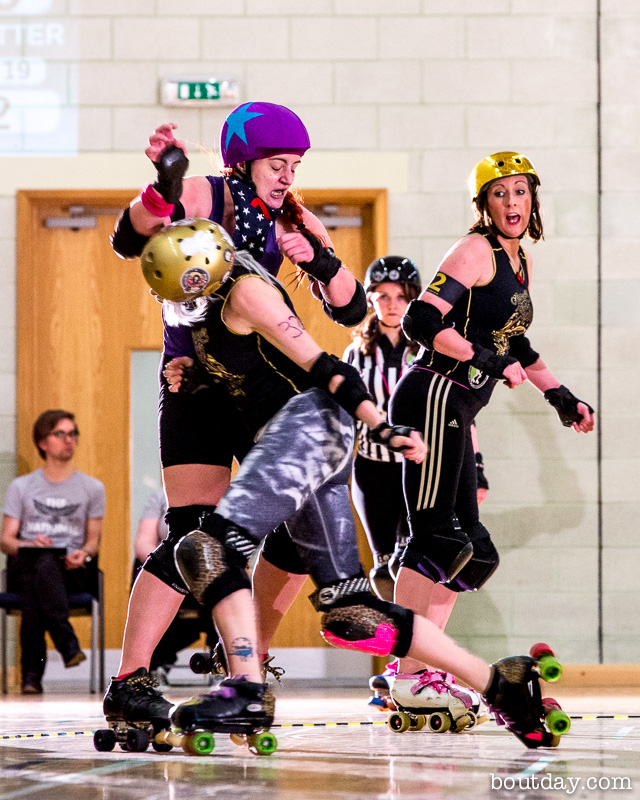
When you see two skaters on a collision course or a blocker winding up to meet an opposing jammer, be ready.
Apex Jumps
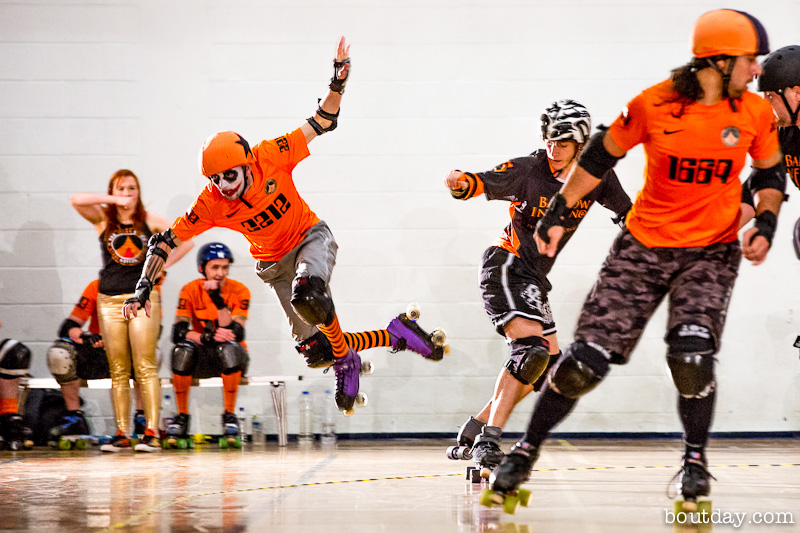
Or other jumps. The more wheels off the ground the better.
Falls
Skaters falling over (sorry, but it’s dramatic.) Shooting skaters who have gone down and are not able to get back up is considered inappropriate and should be avoided, especially while they are being attended by the EMTs.
Officials
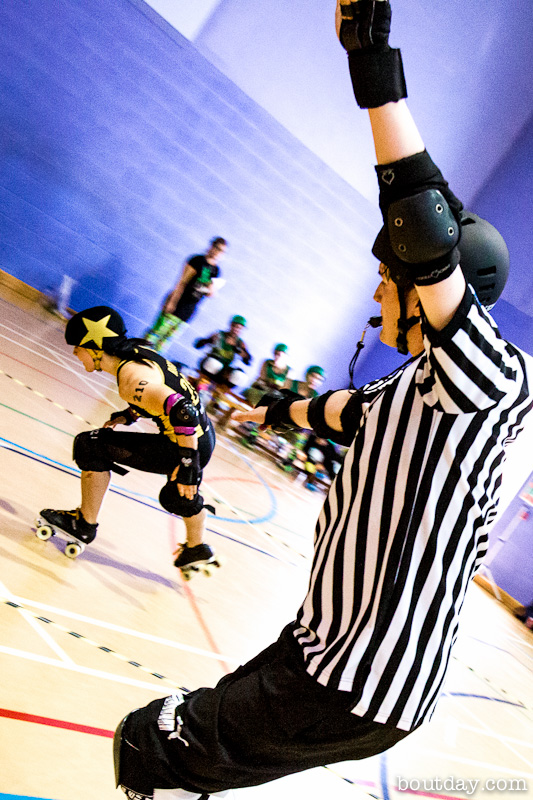
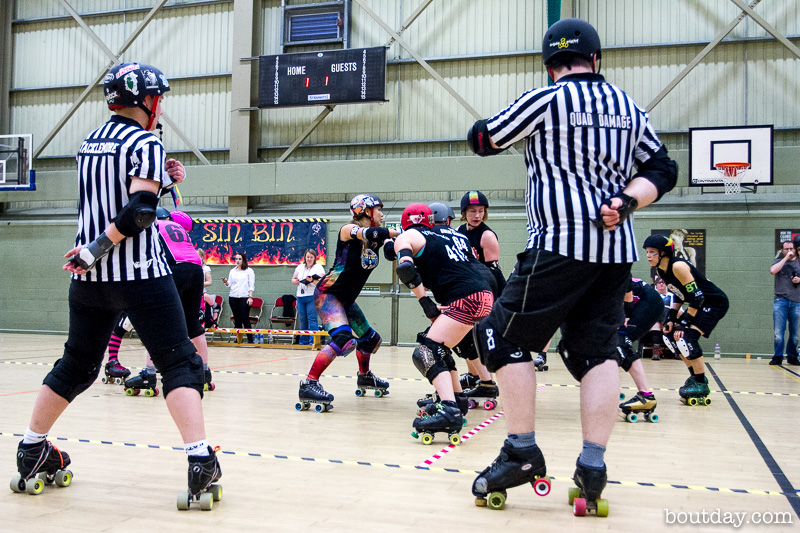
Shots of the officials, both skating and non skating, but particularly the lead jammer and their jam ref.
Emotion
Effort and determination.
Shooting Locations
You can usually shoot anywhere that isn’t taped off and you’re not causing an obstruction or a hazard (check with the ref crew), but I have a few preferred spots:
Turn One (1)
I shoot most of my images from this position. You get a good view of the pack lining up and the jammers will generally hit the pack for the first time at this apex.
In this location I shoot low, sometimes lying down if space allows this to be done safely. If you do this, you take the risk that a skater might come off of the track and hit you. Only do this if you’re willing to take that risk.
Penalty Box Right (2)
This spot gives you a good view of the pack and a great view of the jamers if the pack line up closer to the pivot line. You’ll get good close shots of the pack from the side, and shots of the jammer and jam ref coming round the turn 3-4 apex.
Penalty Box Left (3)
Slightly less useful, but you can get good close shots of the jammers lining up and coming round the 3-4 apex.
Inside Track, 3-4 Apex (4)
A good place for shots of the jam refs if you have a wide lens. Stay alert and try to keep out of the way.
Hazards and Behaviour
You’ll be shooting mostly from the outside track area. There you’ll be sharing space with the skaters, the bench crew, the Outside Pack Referees (OPRs, the stripy ones) and the Non Skating Officials (NSOs, in pink). These people have jobs to do. Don’t get in their way. If you miss a shot, nobody will notice. If they miss a call the game will suffer. Be invisible. So with that in mind, a few basic rules:
- Stay at least 3m from the track edge to give the OPRs clearance. They watch the track, not where they’re skating, so if you stick your feet into their path you risk tripping them. This has happened.
- Don’t move position during active play. Jams are only 2 minutes long. Wait for the whistle and move between jams. When doing so, watch for skaters and give them right of way. They’re in a hurry.
- Don’t try to shoot from centre track unless you’ve cleared it with the head ref.
- Never cross the track during active play. Wait for a timeout to enter the inside track area as it gives you more time to get into position. It’s generally OK to exit between jams as that’s a lot quicker.
- If there are taped off photographer boxes in the center track area, respect them. Some ref crews will want you to stay in there no matter what, while some see them as guidance and expect you to move if necessary. Speak to the head ref before the game and find out. Center track is a busy place. Don’t get in the way.
- If there are no marked boxes and you’re unsure, ask for them to be marked before the game starts. It’s a good guide if you get spun around to be able to look down and see that you’re still in the correct position.
- When in the inside track area, stay on you feet. Don’t crouch, sit or lie down (yes, even the latter has happened.) You need to be able to react quickly if things go wrong. It’s entirely possible that a ref might trip or a skater might come flying towards you. You have to be able to get out of the way. If I’m shooting at the turn 3-4 apex, between the refs and the crowd, I’ll crouch until the whistle blows so that I don’t block the audience view of the start of the jam, but as soon as the jam starts I stand up and double check my position.
- Don’t ever enter the taped off team or penalty box areas. Teams can be penalised for this. Don’t cut corners. Walk around the lines and don’t lean onto those spaces to get a shot. Yield to skaters. They’re in a hurry.
- Have fun.
DaveMc, May 2016

